
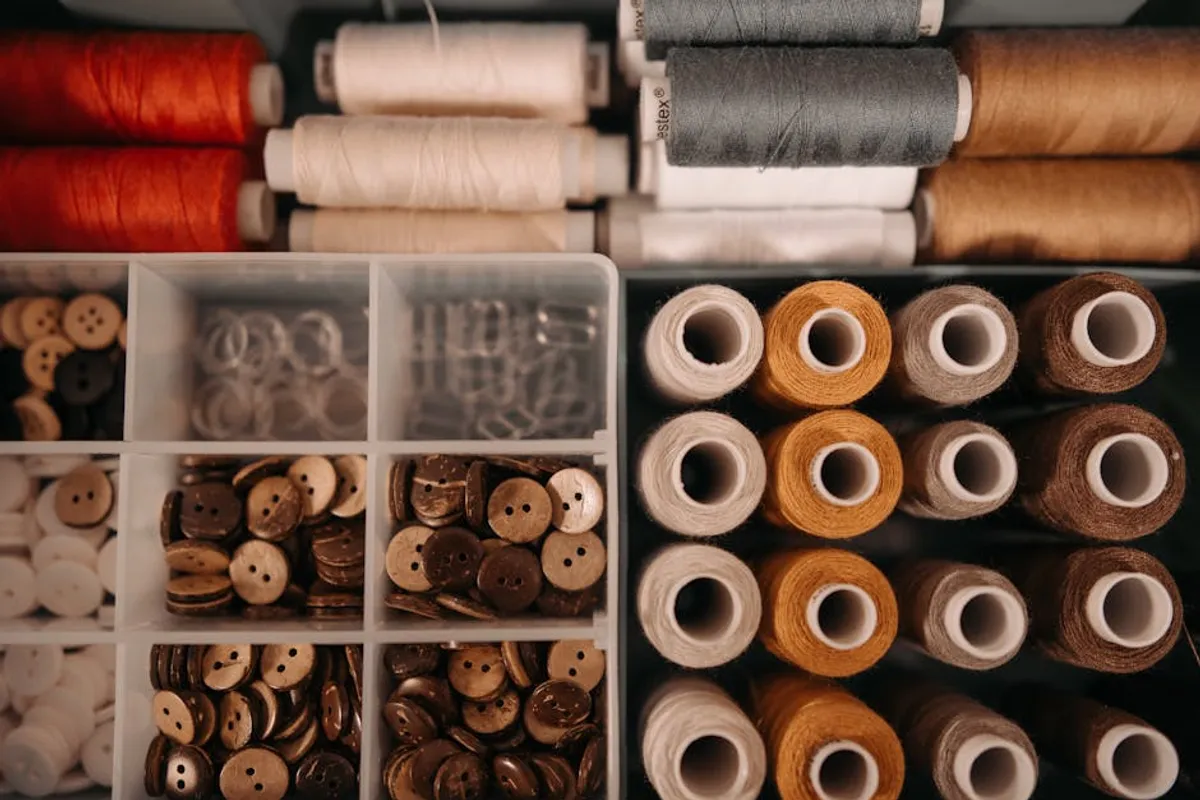
Effective craft storage transforms a chaotic workspace into an organized, functional environment, directly impacting creative output and efficiency. The challenge lies not just in containing materials, but in making them accessible, visible, and protected, while adapting to the unique demands of various craft disciplines—from intricate jewelry making to large-scale textile projects. Deciding on the right storage involves a clear assessment of your current supplies, available space, and workflow, ensuring that solutions enhance rather than hinder your creative process.
Assessing Your Craft Space and Supplies
Inventorying Your Materials
Before acquiring any storage solutions, conduct a thorough inventory of your craft supplies. Categorize items by type (e.g., yarn, fabric, beads, paper, tools), size, and frequency of use. This step reveals the true volume and diversity of your materials, preventing the purchase of inappropriate or insufficient storage. For example, a knitter with a large yarn stash requires deep, breathable bins, whereas a miniaturist needs compartmentalized trays for tiny components. Understanding the scale and quantity of your items dictates the necessary dimensions and features of storage units.
Evaluating Your Available Footprint
Measure your dedicated craft area precisely, including wall space, under-table clearance, and any existing furniture. Consider the room's natural light, proximity to power outlets, and potential for future expansion. A small corner might necessitate vertical solutions and multi-functional furniture, while a dedicated room allows for more expansive shelving or a central workbench. This evaluation ensures that new storage integrates seamlessly without overcrowding the workspace or impeding movement.
Maximizing Vertical and Wall Space
Leveraging vertical and wall space is crucial for efficient craft storage, especially in smaller areas. This approach moves items off flat surfaces, freeing up valuable working room.
- Open Shelving Units: Adjustable shelves accommodate varying item heights, from large fabric bolts to small paint bottles. Transparent bins or labeled boxes on these shelves maintain visibility and organization.
- Pegboards: Highly customizable, pegboards allow for hanging tools, spools of thread, scissors, and small baskets for notions. Their flexibility means layouts can be reconfigured as needs change.
- Wall-Mounted Organizers: Options like magnetic strips for metal tools, wall-mounted bins for frequently accessed items, or clear acrylic shelves for paints and glues keep essentials within reach without occupying desk space.
Best for: Crafters with limited floor space who need quick visual access to a wide range of tools and materials.
Portable and Modular Solutions for Flexibility
Portable and modular storage options offer adaptability, particularly for crafters who share spaces, attend workshops, or need to move projects frequently. These solutions prioritize accessibility and ease of transport.
- Rolling Carts: Multi-tiered carts provide mobile storage for works-in-progress, frequently used tools, or project-specific supplies. Their casters allow for easy repositioning within the workspace or transfer to another room.
- Stackable Bins and Drawers: Clear, stackable containers are ideal for categorizing materials while maintaining visibility. Modular drawer units can be arranged and rearranged to fit specific spaces or stacked to create vertical storage.
- Project Totes and Bags: Dedicated totes or bags for individual projects keep all necessary components together, preventing loss or mix-ups. This approach streamlines the process of starting and stopping projects without having to re-gather supplies.
Integrating Furniture with Storage Functions
Selecting furniture that serves a dual purpose—both functional workspace and integrated storage—optimizes space and maintains a clean aesthetic.
- Storage Ottomans and Benches: These pieces offer seating while providing hidden compartments for bulkier items like fabric scraps, large skeins of yarn, or seasonal craft supplies.
- Workbenches with Built-in Drawers and Cabinets: A dedicated craft table or workbench with integrated storage reduces the need for separate units. Drawers can house tools, while cabinets conceal less aesthetically pleasing supplies or works-in-progress.
- Custom Cabinetry or Closet Systems: For permanent craft spaces, custom solutions maximize every inch. Adjustable shelving, pull-out drawers, and specialized compartments can be designed to fit specific craft items, from paper reams to cutting machines.
Organizing Small Notions and Tools
Small items—beads, buttons, needles, threads, markers—are often the most challenging to organize due to their size and quantity. Effective strategies ensure these components are easily found and retrieved.
Drawer Dividers and Organizers
Utilize drawer dividers, small trays, or repurposed containers within larger drawers to create specific compartments for tiny items. Clear plastic organizers with adjustable sections are particularly effective for beads, jewelry findings, and embroidery floss. This prevents items from mixing and reduces search time.
Labeling Strategies
Consistent and clear labeling is non-negotiable for small item storage. Labels should be specific and visible, indicating contents, color, or project association. This practice significantly reduces the time spent searching for specific components, especially when dealing with numerous similar-looking items.
- Label containers by material type (e.g., "Glass Beads," "Embroidery Floss," "Polymer Clay").
- Use color-coded labels for different categories of supplies.
- Include quantity or size on labels for items like fasteners or needles.
- Consider a numbering system for containers that correlates to a master inventory list for very extensive collections.
Pro Tip: Prioritize visibility and accessibility for frequently used items. Storing supplies in clear containers or on open shelving reduces the mental effort required to locate what you need, streamlining your creative flow. Avoid opaque bins for high-turnover items, as they often lead to forgotten supplies and duplicate purchases.
Establishing Your Craft Storage Workflow
Implementing effective craft storage is an ongoing process that benefits from a structured approach. Begin by decluttering, removing any broken tools, dried-up paints, or unused scraps that no longer serve a purpose. Group similar items together, then allocate them to their designated storage locations based on frequency of use and project requirements. Frequently accessed items should reside in prime, easily reachable spots, while seasonal or less-used supplies can occupy higher shelves or deeper cabinets. Regularly review your system, perhaps quarterly, to adapt to new acquisitions or changes in your crafting focus. The goal is a system that supports, rather than obstructs, your creative endeavors, ensuring materials are always at hand when inspiration strikes.
Frequently Asked Questions
How do I start organizing a large collection of craft supplies?
Begin by decluttering, removing anything broken, dried out, or unused. Then, sort remaining items into broad categories like "fabric," "paper," or "tools." Finally, subdivide these categories into more specific groups, assessing volume and frequency of use before selecting storage solutions.
Should I invest in expensive, specialized craft storage?
Not necessarily. Start with affordable, versatile options like clear plastic bins, drawer organizers, and basic shelving. Expensive, specialized storage is best reserved for unique, high-value, or frequently used items once your organizational system is established and proven effective for your workflow.
How can I maintain an organized craft space over time?
Implement a "one in, one out" rule for new supplies and designate a specific home for every item. Conduct a quick tidying session after each crafting session and schedule a more thorough reorganization quarterly to adjust for new projects and accumulated materials.
What is the best way to store works-in-progress?
Dedicate specific project boxes, clear totes, or rolling carts for works-in-progress. Keep all associated materials, tools, and instructions together in one container. This prevents components from getting lost and allows for easy resumption of the project.